Mountain Bike Setup Tips for Riding in Whistler | ZEP MTB Coaching
A better bike = free skill… quick changes to the set up can improve your confidence, feel and skill!
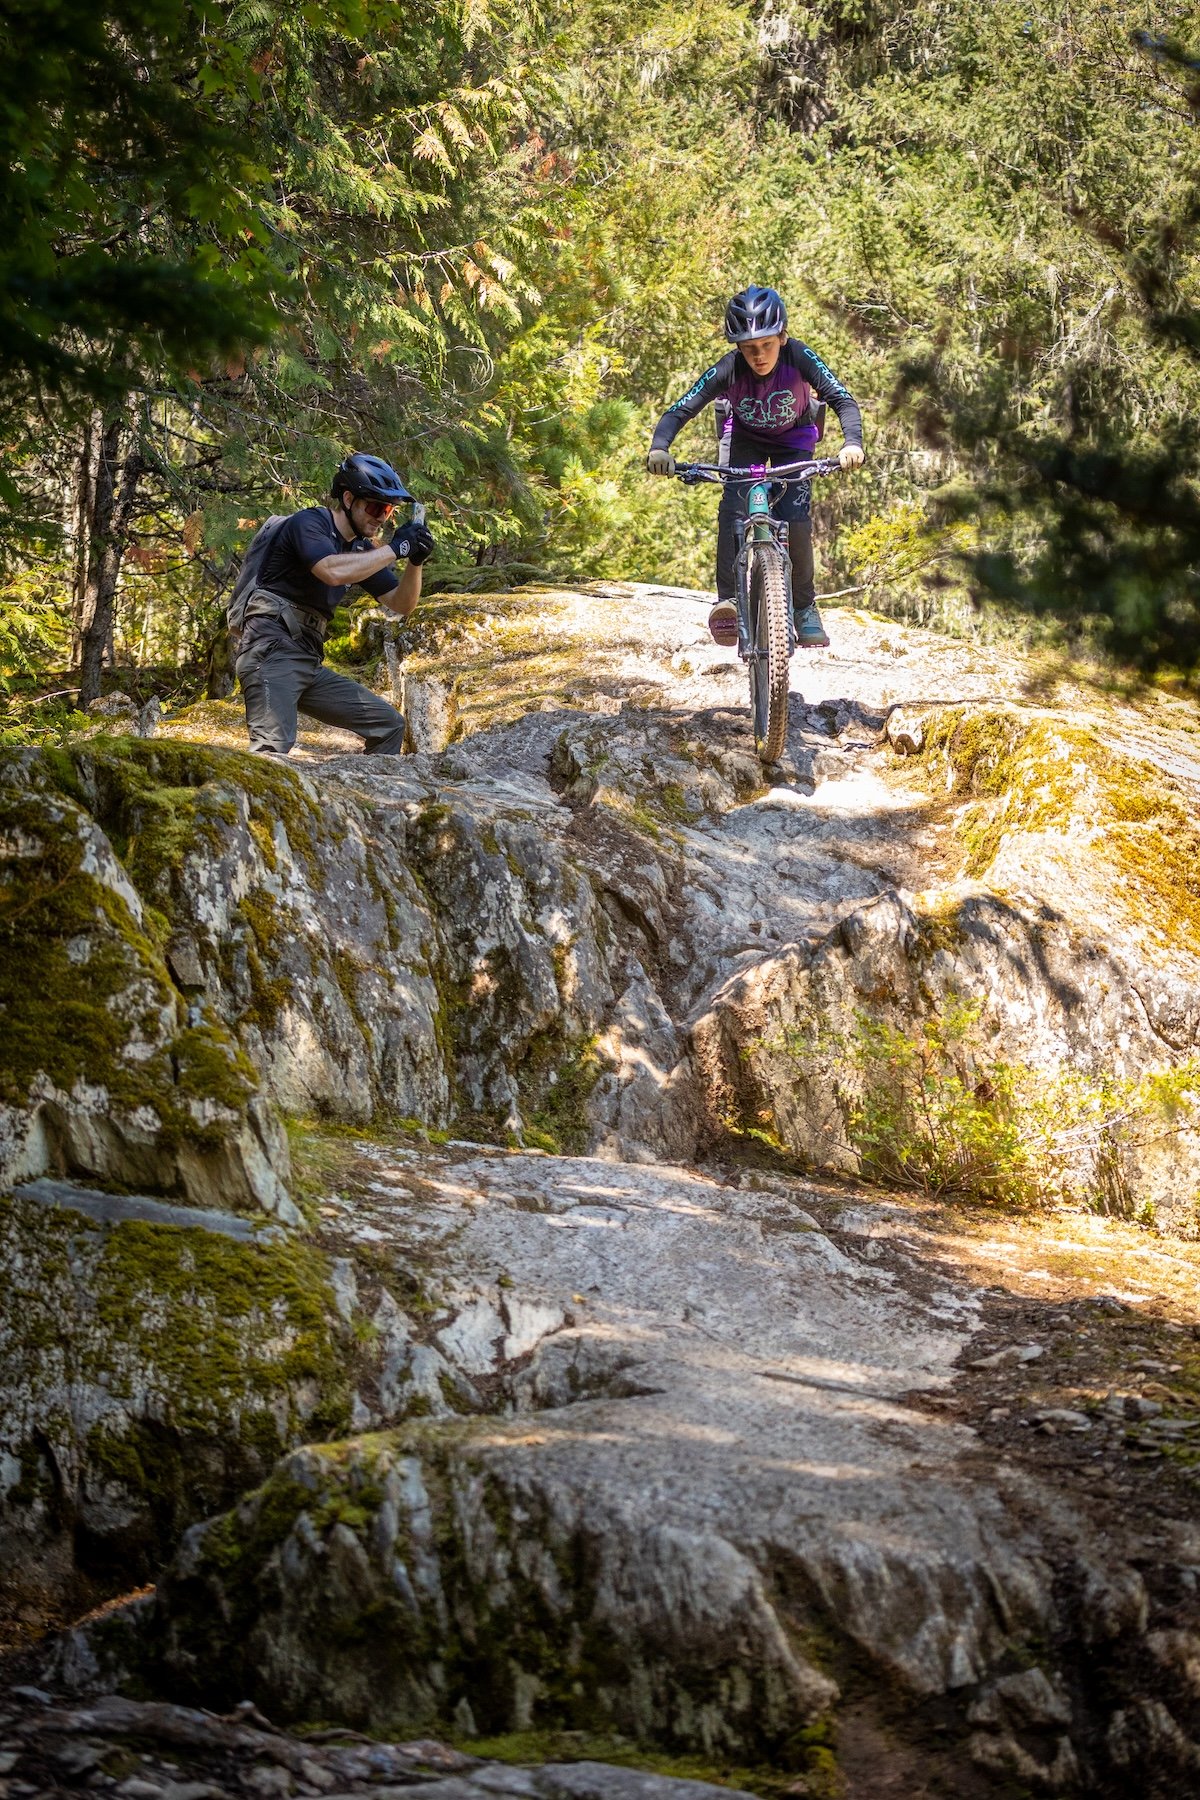
Riders joining lessons with ZEP Mountain Bike Camps often expect to spend the day working purely on technique.
But one of the first things our coaches check before hitting the trail is bike setup.
Why? Because confidence on steep trails starts with the bike.
Brake feel, tire pressure, suspension performance, and cockpit setup all influence how a bike behaves on trail. When those elements are dialled in properly, riders immediately feel more stable, more controlled, and more confident on technical terrain.
We often tell riders that good bike setup is like adding “free skill” to your riding. Before changing technique, make sure the bike is working with you rather than against you.
Many riders discover this during their first Whistler mountain bike lesson with ZEP, where a few simple setup adjustments can dramatically improve control before we even begin working on riding skills.
On Whistler trails — with roots, rock slabs, and braking bumps — proper bike setup becomes even more important.
Below are some of the most common setup adjustments we make during Whistler mountain bike coaching camps and skills clinics.
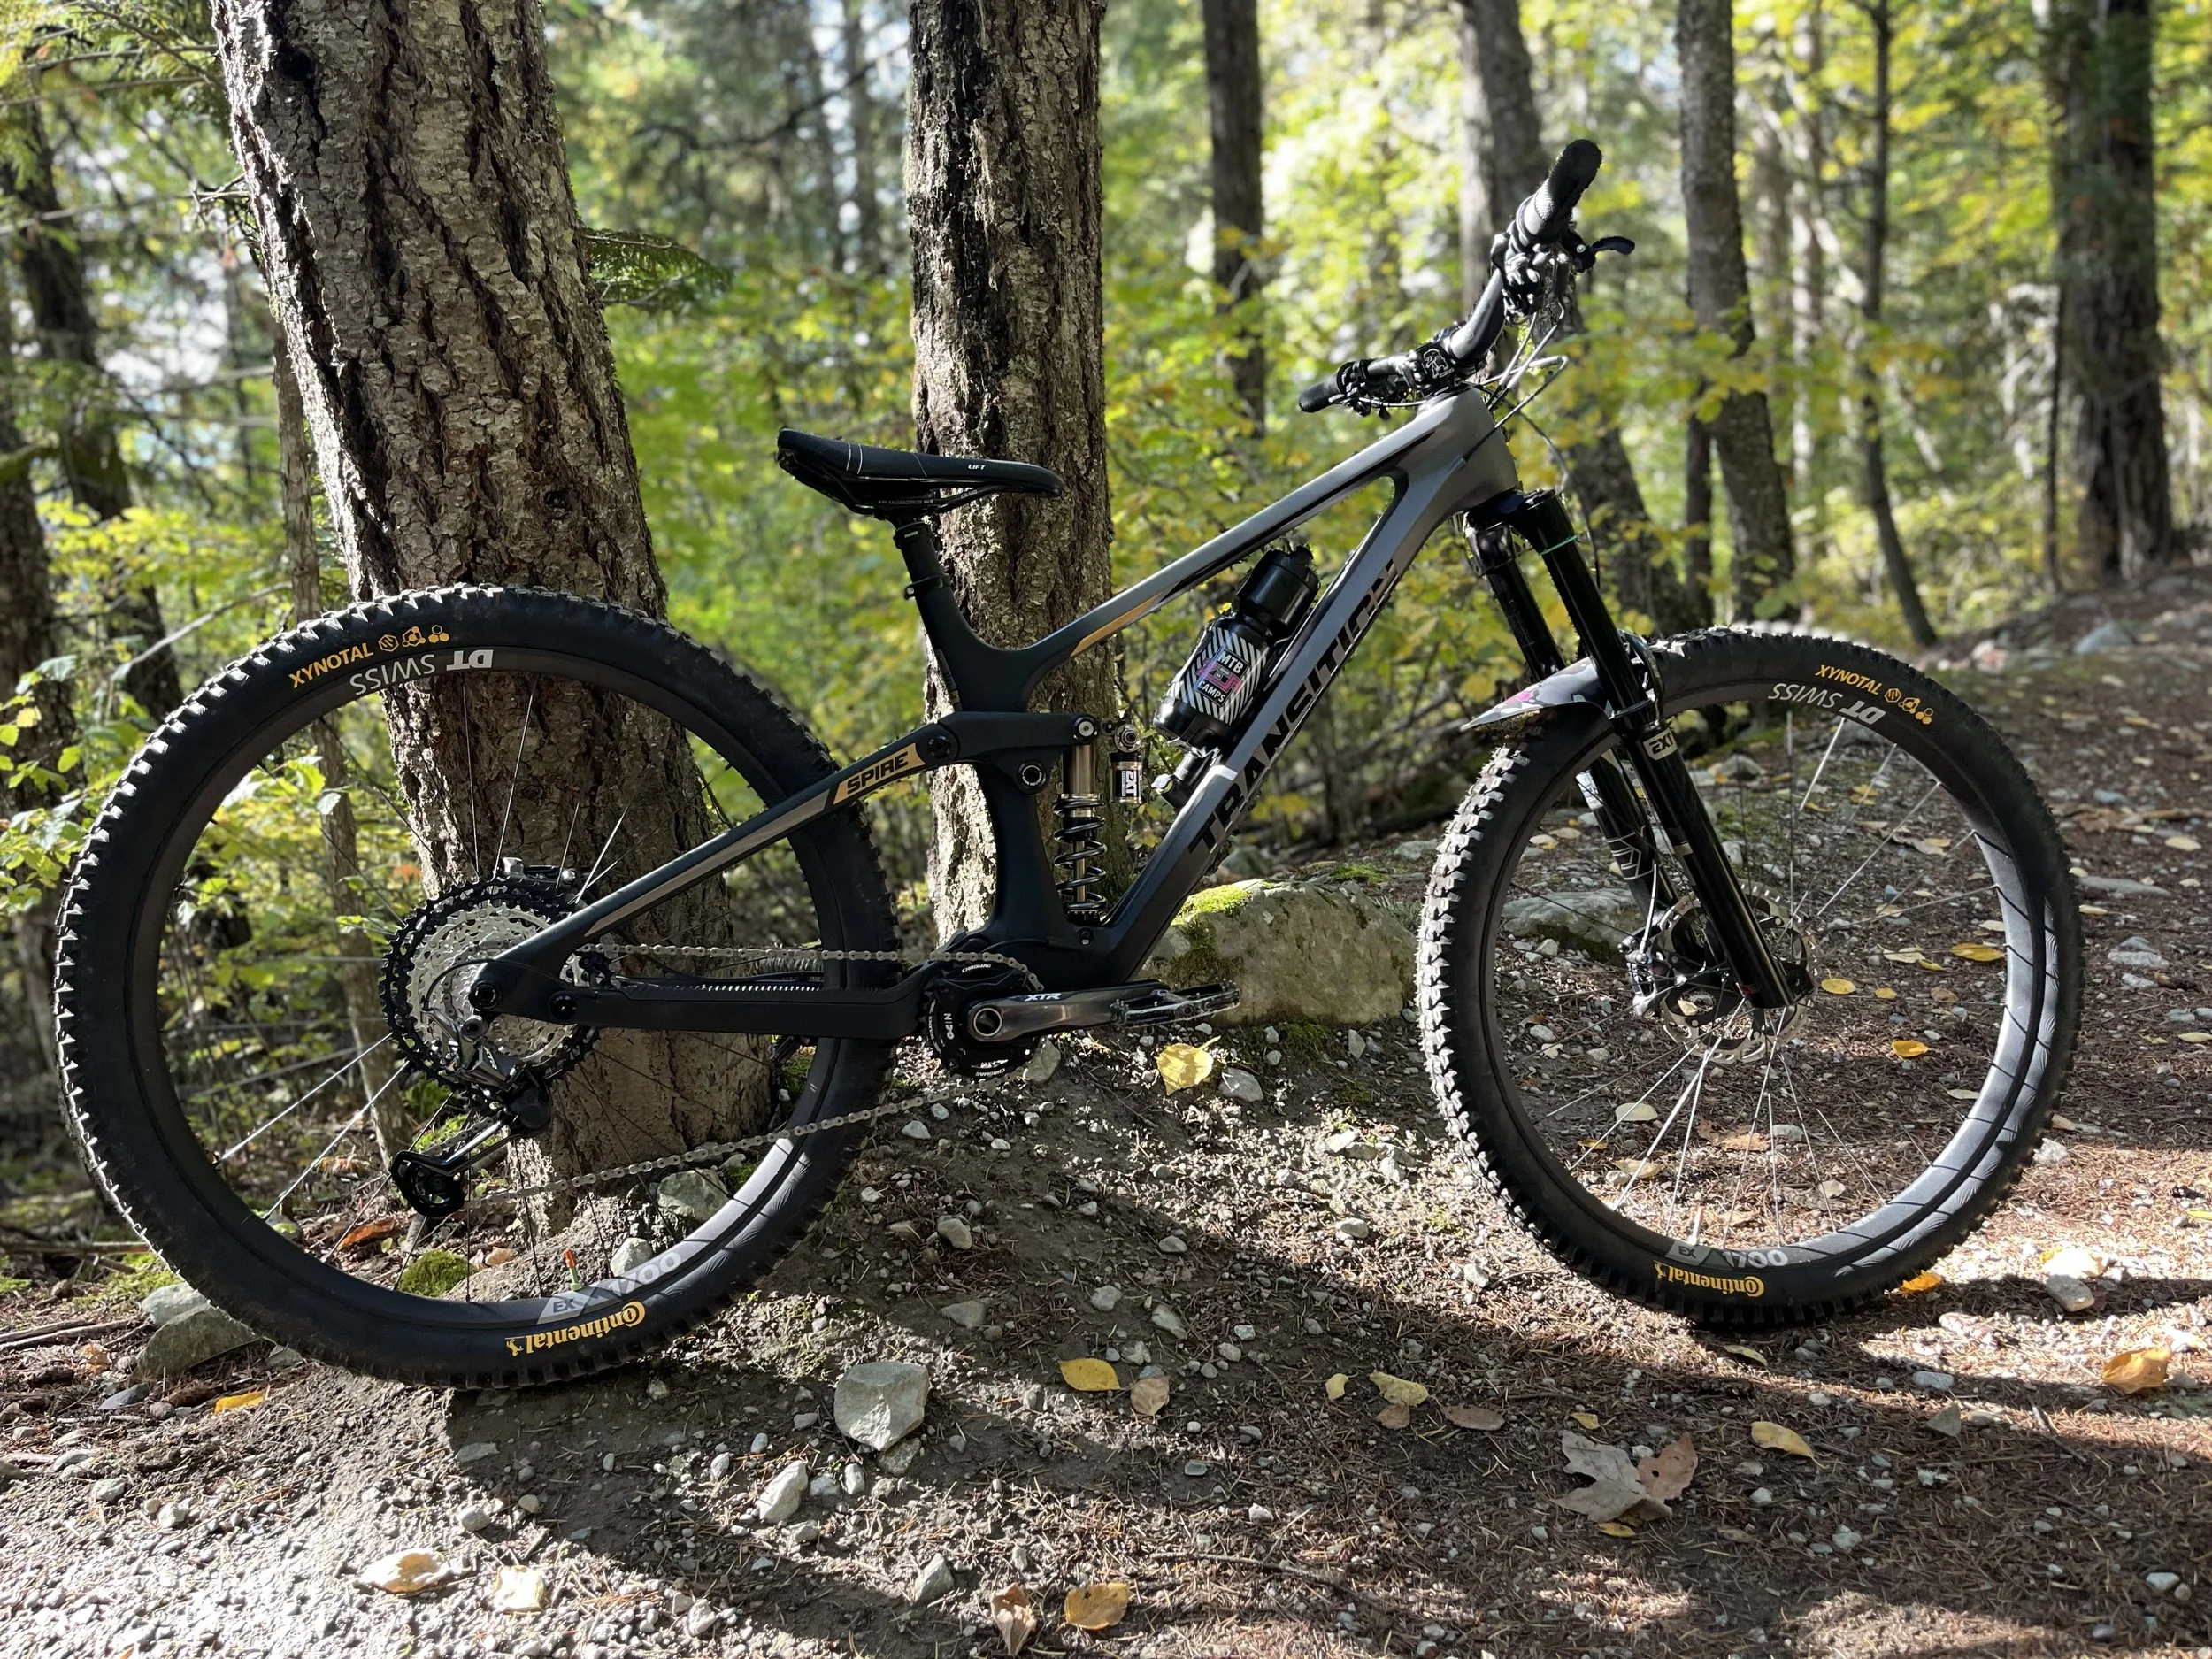
A little extra juice in the rear helps prevent pinch flats, while improving rolling resistance… but, traction is still king so dad add too much air!
Tire Pressure: The EASIEST Performance Gain
If there’s one adjustment that makes an immediate difference, it’s tire pressure. The main goal for tire pressure is GRIP!
Too much pressure:
Less grip on roots and rocks
Harsher ride
Reduced confidence in corners
Too little pressure:
Increased risk of rim strikes
Tires feeling vague or unstable
For most riders on modern trail bikes, a good starting point is:
Front tire: 18–24 psi
Rear tire: 23–28 psi
Exact pressure depends on rider weight, tire casing, and terrain, but dialing in tire pressure can dramatically improve traction — especially on the roots, rocks, and braking bumps common on Whistler trails.
Even small adjustments of 1–2 psi can noticeably change how a bike feels.
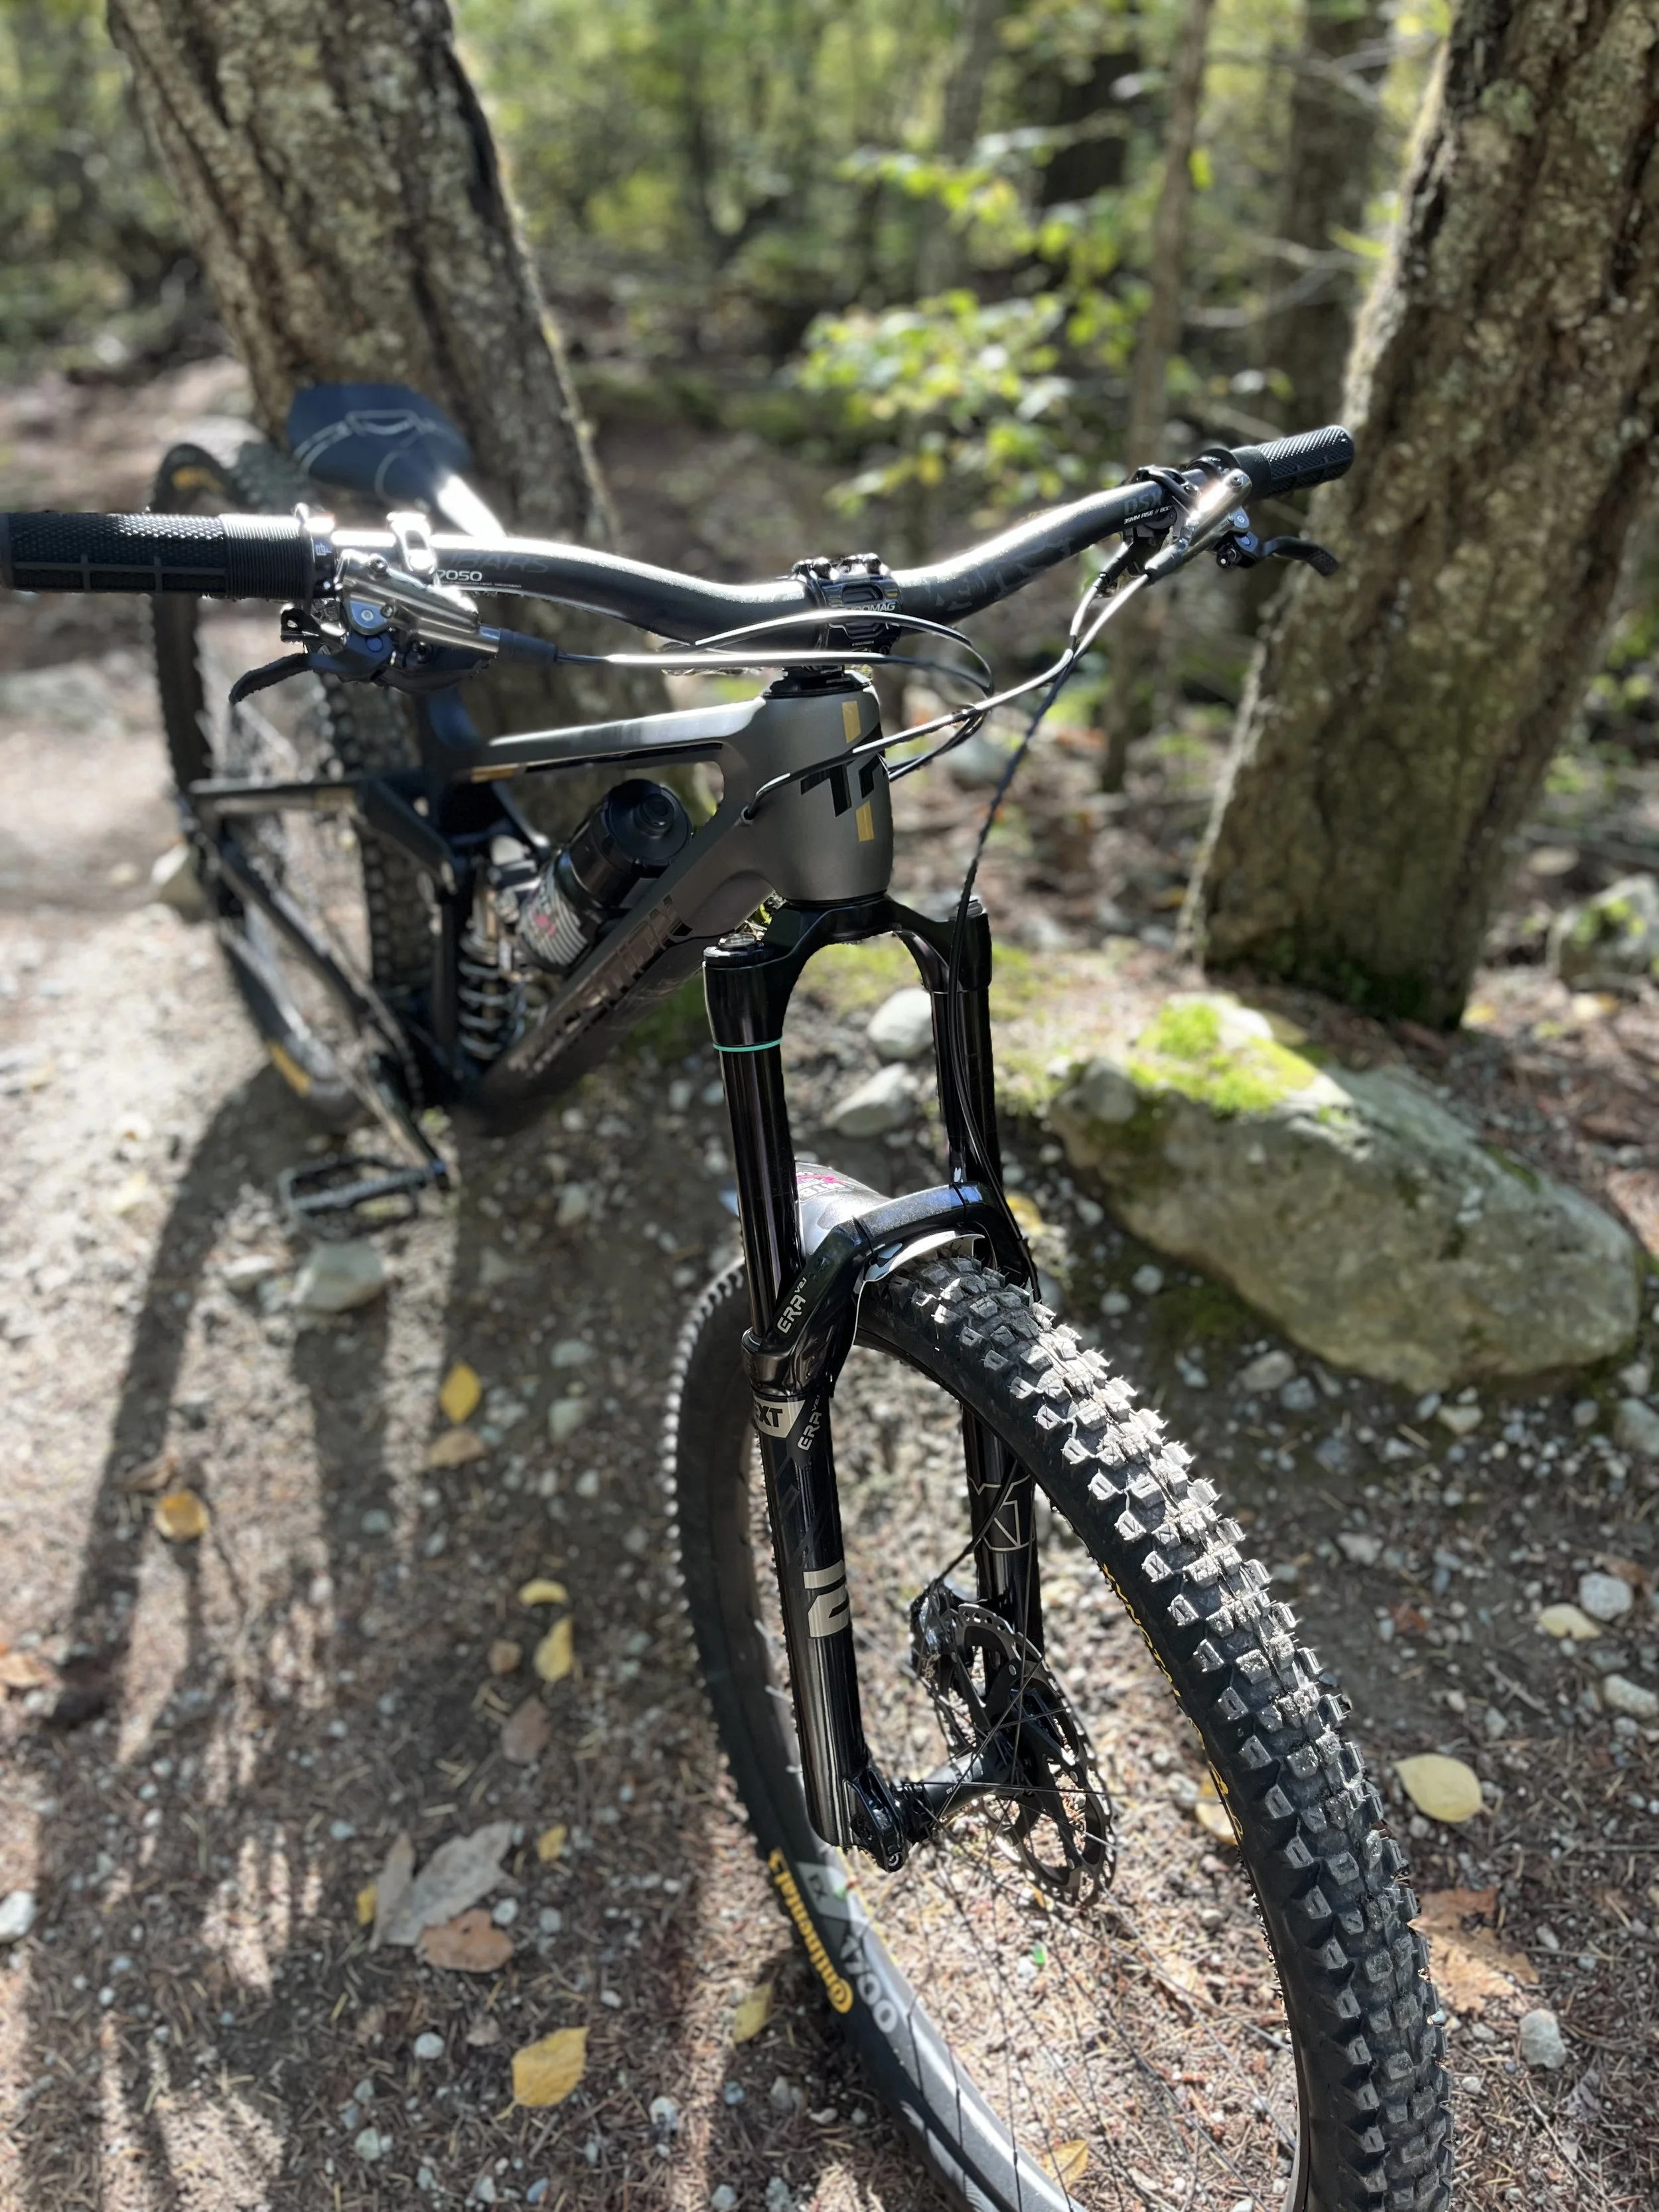
Cockpit set up is relatively easy… it’s quick and only needs minimal tools and knowledge, yet it can greatly improve the comfort, control and confidence on the bike.
Brake Lever Setup: Control and Confidence
Brake setup is one of the most important adjustments riders overlook.
At ZEP we almost always adjust brake levers before heading out on trail.
Lever Angle
Brake levers should align naturally with the rider’s arms when they are in a neutral riding position.
The lever angle should usually be slightly flatter than the angle of the rider’s forearms in this position (see our stability article for more on neutral body position). This allows a small bend in the wrist, creating a stronger platform to push against the handlebars without the hands slipping: think of how you would do a pushup on the ground if you were holding on to handlebars.
If the levers are too flat, this can cause the elbows to drop too low, causing the rider’s weight to be a little too far back on the bike.
If they are too steep, can end up rolling their wrists to far over the top of the bar which can lead to their hands slipping off. may have to reach down with their fingers to brake.
Ideally, the rider’s index finger should naturally fall onto the lever without having to ‘reach’ up or down. The hands should feel relaxed, with no tension in the wrist or hand just to reach the lever — only to squeeze the brake.
This setup improves braking efficiency, reduces fatigue, and helps prevent arm and hand pump on longer descents.
Lever Reach
Riders should be able to comfortably brake with one finger.
If the brake levers sit too far from the handlebar, riders often end up having to stretch their fingers to squeeze the lever which decreases braking control making things like arm pump and hand fatigue much more likely.
If the levers sit too close to the handlebar, riders may feel cramped and the bite point can often be close to the bar, making the brakes feel squishy and vague.
Ideally, the rider’s index finger should rest naturally on the very end of the lever, in the ‘curve’, allowing the brake to be applied without compromising grip on the handlebar, while using the full length - and power - of the lever.
Most modern brakes include a simple reach adjustment screw or dial that allows the lever position to be fine-tuned for hand size and comfort.Handlebar and Control Setup
Your cockpit setup affects comfort, control, and body position on the bike.
Bar Roll
Rotating the handlebars slightly forward or back changes wrist position and front-end feel.
Bars that are rotated forward reduce the sweep back and increase the sweep ‘up’. This can help bring the rider a little more over the front of the bike.
Bars rotated backwards increase the sweep back, potentially reducing the reach slightly.
The nuances between different bar roll set ups can be quite different and depending on the rider’s biomechanics (the shape and makeup of their body) and preferences, can be really make them love or hate a bike. Experiment with a ‘pro’s and cons’ attitude and see which position works best for you. Small adjustments can significantly improve comfort and confidence.
Handlebar Height: Stability, Maneuverability, and Comfort
Handlebar height influences how your weight is distributed on the bike and how easily you can move around it. Small changes can significantly affect stability, control, and overall comfort.
Bar height is typically adjusted using spacers under the stem or by using different handlebar rise options.
Like most aspects of bike setup, there isn’t one “correct” height. It’s about finding the balance that works best for your riding style, terrain, and physical comfort on the bike. The best approach for this is to view bike set up as an experiment between settings to find an ideal ‘window’ for you, using a pro’s and con’s outcome based approach (more objective), compared to a right vs. wrong personal opinion (subjective based - what you’re friend/partner tells you!)
LOWER BARS
Lower handlebars place the rider slightly more forward over the bike and can increase pressure on the front wheel.
Pros
• Increased front wheel traction in corners
• Helps keep the front tire engaged on flatter terrain
• Often feels faster and more aggressive
• Improves precision and steering accuracy
Cons
• Can make steep terrain feel more intimidating
• Increases the chance of feeling pitched forward on descents
• Can place more strain on the lower back, wrists, and hips due to the more forward riding position
• May become uncomfortable for riders with lower back injuries, limited mobility, or during long rides
For riders who experience back discomfort, even small increases in bar height can noticeably improve comfort without dramatically affecting handling.
HIGHER BARS
Higher handlebars move the rider slightly more upright and shift some weight slightly toward the rear wheel.
Pros
• More confidence on steep descents
• Reduces the feeling of being pitched forward
• Often feels more comfortable for many riders
• Can reduce strain on the lower back and wrists
• Allows the rider to stay taller in the neutral position while still keeping the arms flexed and ready to maneuver the bike
• Often more efficient for riders doing multiple bike park laps, where staying relaxed and upright helps reduce fatigue
Cons
• Reduces pressure on the front tire in corners
• Can make the front wheel feel light on flatter terrain
• Steering may feel slightly less precise at higher speeds
HOW TO THINK ABOUT BAR HEIGHT
A useful way to think about bar height is this:
Lower bars increase front-end grip and steering precision.
Higher bars increase stability, descending confidence, and comfort.
For steep and technical terrain like many trails in Whistler, riders often benefit from slightly higher bars than they might run on flatter terrain. The extra stability and comfort can make a noticeable difference in confidence, especially on rough descents.
Comfort also matters. Riders dealing with lower back pain, previous injuries, or fatigue on longer rides often benefit from a slightly higher front end.
As with most setup changes, small adjustments can make a noticeable difference. Even moving 5–10 mm of spacers can significantly change how the bike feels.
Experiment and find the position that helps the bike feel balanced, stable, and comfortable for the way you ride.
One simple goal with suspension is balance - making the front and rear suspension feel similar is key to a stable, predictable ride. In reality this often means the fork should have a little less sag than the rear shock.
Suspension Setup: The Foundation of Ride Quality
WHAT IS SAG? Sag is how much the suspension compresses under the rider’s weight.
Suspension setup dramatically affects traction, comfort, and control. A lot of riders, bike shops and coaches can make sag too complicated. In many ways it can be considered in the same way as tire pressure:
Less sag creates a firmer ride with more support.
More sag increases traction and comfort on rough terrain.
In this sense, sag can simply be viewed in more of a 'riding preference’ kind of way, rather than a super-technical -“what’s the exact psi or percentage of sag I need?” - kind of way. In other words, chill people!
LESS SAG = FIRMER: If you like the bike to feel firmer or your riding some really faster trails, add some air to your suspension, make it firmer and run less sag.
MORE SAG = SOFTER: If you like the bike to feel softer, more comfortable and compliant or your riding at slower speeds, let some air out and run more sag.
HOW MUCH: Typical starting points for trail and aggressive trail or downhill riding are:
20–25% sag - for cross country/down-country/trail
25-30%+ - for enduro/downhill
(note from Paul… all these terms for mountain biking… isn’t it all just mountain biking… haha!)
Typically speaking, for the bike to remain balanced under braking and when descending, the fork should have a little less sag than the rear. This helps keep the front end from ‘nose diving’, potentially pitching the rider forward. For example, if a bike has 30% sag in the rear, 20% sag in the fork could be ideal. Experiment and find the settings that help the front end feel similar to the rear, while keep the bike stable under braking.
HOW DO I MEASURE SAG? Lean the bike against a wall with all your riding gear on and stand in the Neutral Position, with no brakes on (these can cause stiction and reduce the ability to accurately measure sag.. Have a friend mark on the suspension (most air shocks or forks have a rubber ring you can use) how much the suspension has compressed. Carefully dismount without compressing the suspension any further.
For technical terrain like Whistler’s roots and rock gardens, riders generally benefit from suspension that is active and responsive rather than overly stiff. We commonly remove air from our clients’ bikes to get them in a better ‘window’ of sag for both Whistler trails and their skill level.
Rebound - RED ADJUSTMENT DIAL
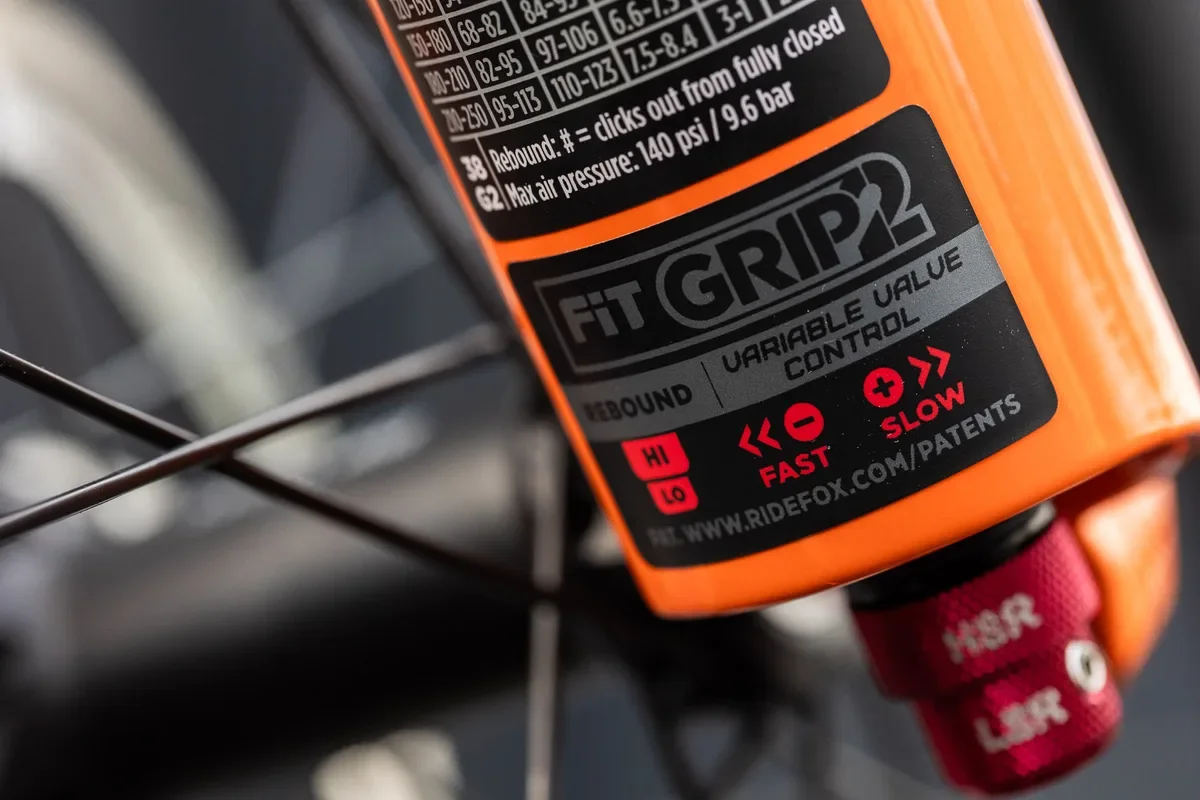
Rebound adjustment dials are typically red on both forks and air shocks, regardless of the brand.
Rebound controls how quickly the suspension returns after compressing. The key word is control. Without the damping, or ‘control, the fork or shock would rebound very fast. Rebound damping is the in-built control of the suspension system and we can set it up with too much damping (more control on the spring = a slower spring) or not enough.
Too fast (not enough damping):
The bike feels bouncy or unstable.
Erratic, unstable feeling
Too slow (too much damping):
The suspension can pack down on repeated bumps.
Harsh, dead feeling
Just right (fast but smooth and stable)
This is typically felt by compressing the suspension hard, all the way and then releasing it fully. If the suspension rebounds quickly without pushing the hands (fork) or feet (shock) as the suspension extends, then it’s likely in a good starting point. Fast enough to rebound and extend before the next ‘bump’ but without exerting any forces into the rider… hence the ‘smoothness’.
A common check is the curb test — the suspension should compress and return smoothly once without bouncing. However, this typically results in the rebound being a touch slow, especially when riding technical trails with lots of roots or bumps (like in Whistler), or like all the square edge hits you might find in Moab! In this case, we like to speed up the rebound (towards the negative sign - or hare for Rockshox - for less rebound)
Bike set up is a key component of any ZEP lesson in Whistler… your coach will help you improve before you even get out on the trails!
The Takeaway: Bike Setup Builds Confidence
Many riders assume progression comes only from improving technique.
But in reality, a poorly set up bike limits what riders can do.
During lessons at ZEP Mountain Bike Camps, we regularly see riders gain confidence simply by dialing in:
tire pressure
brake lever position
cockpit setup
suspension sag and rebound
Before learning advanced techniques, make sure the bike is helping you succeed.
Because when the setup is right, riders often discover something surprising:
The trail suddenly feels easier.
And that’s what we mean when we say good bike setup adds “free skill” to your riding.
Ready to Improve Your Riding?
If you want help dialing in your bike setup and improving your riding, join a Whistler mountain bike lesson with ZEP and learn directly from experienced coaches on the trails.
Great technique matters — but great setup makes everything easier.
FAQ: Common Mountain Bike Setup Questions
What tire pressure should I run for Whistler trails?
Most riders run roughly 18–24 psi in the front tire and 23–28 psi in the rear tire, depending on rider weight, tire casing, and trail conditions.
Should I change my bike setup before a mountain bike lesson?
Not necessarily. During lessons with ZEP Mountain Bike Camps, coaches often help riders dial in tire pressure, brake lever position, and suspension settings before hitting the trail.
Does bike setup really affect riding confidence?
Absolutely. A properly set up bike improves traction, braking control, and body position — all of which make technical terrain significantly easier and safer to ride.